starby - prep & paint the deck
29 July 23:
Over the last couple of days, working for just a few hours at a time, the left hull side & deck of Starby has been sanded, primed & filled (mostly). Today I will set out to sand back the right hull side as well as filled patches. These spots will then be primed.
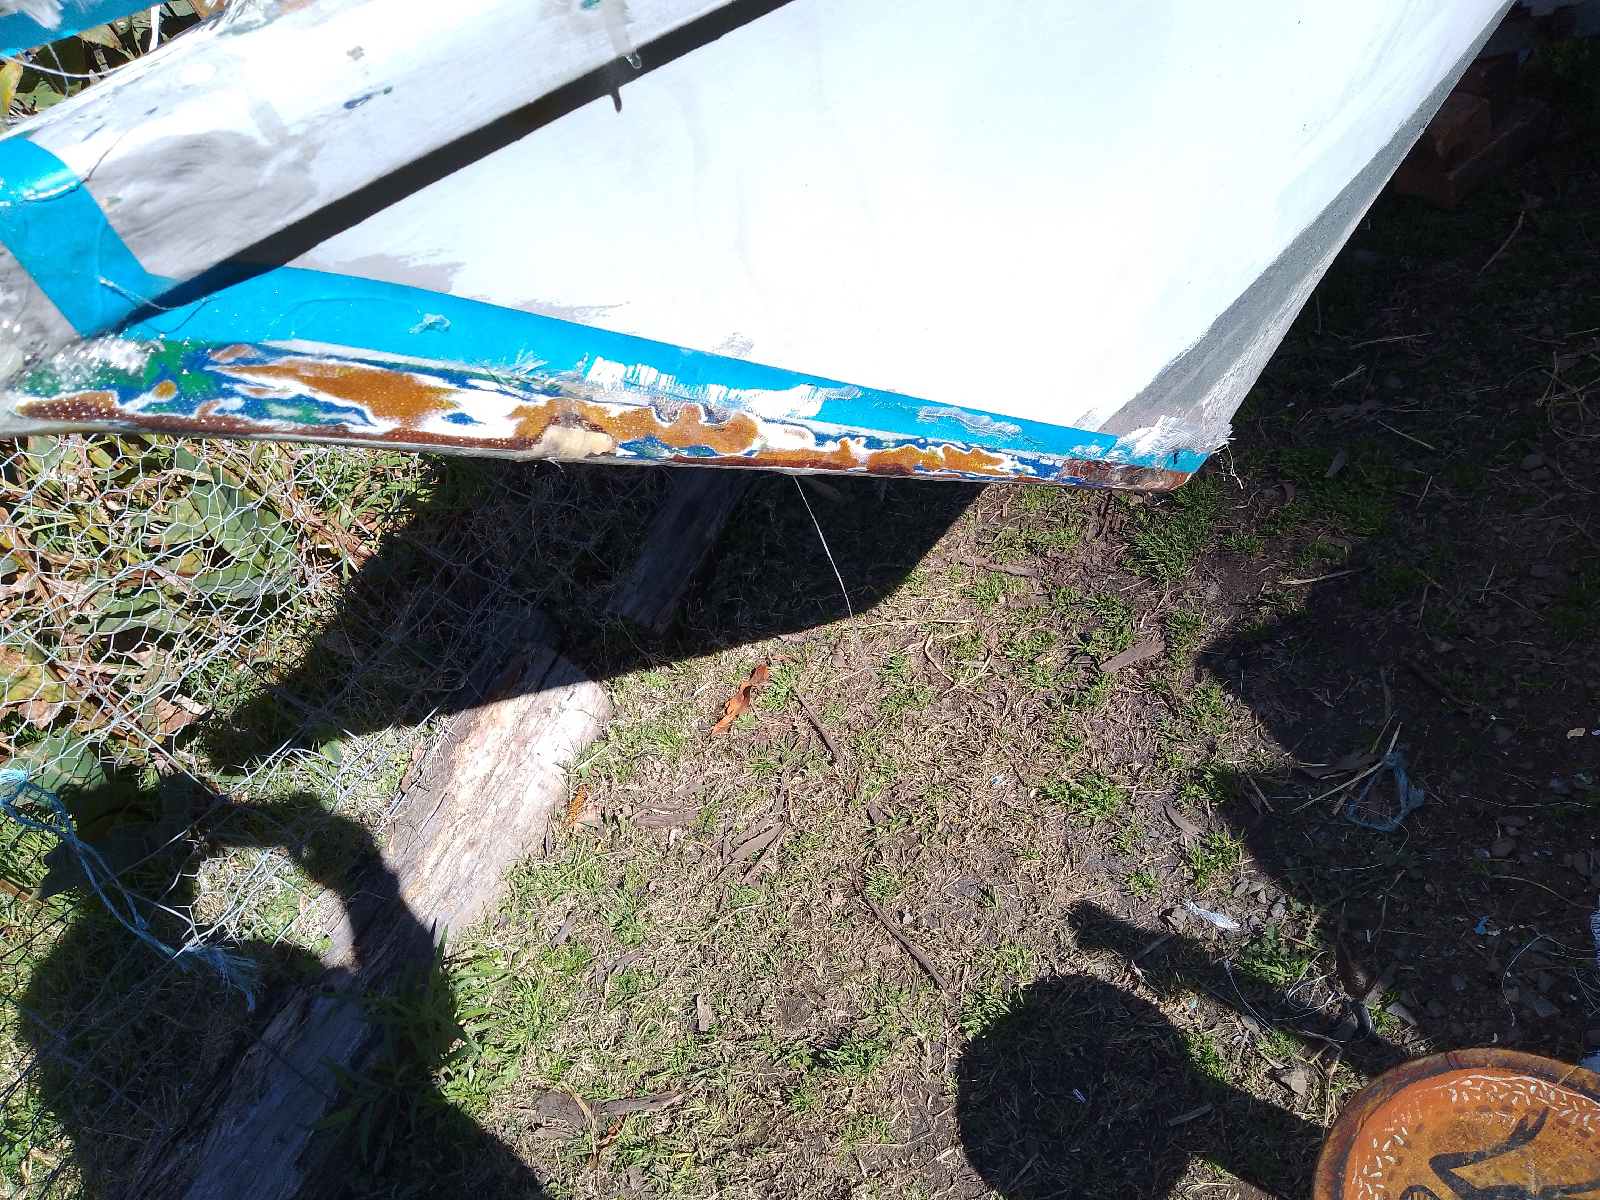
A significant repair is needed by the stern. With cracks & signs of bodgy old repairs_I have sanded back to mostly bare wood. The middle & lower rudder tie points will be glasses over & redrilled. The keel also needs glassing. Short on resin, I've just ordered more & will try to push what I have as far as possible.
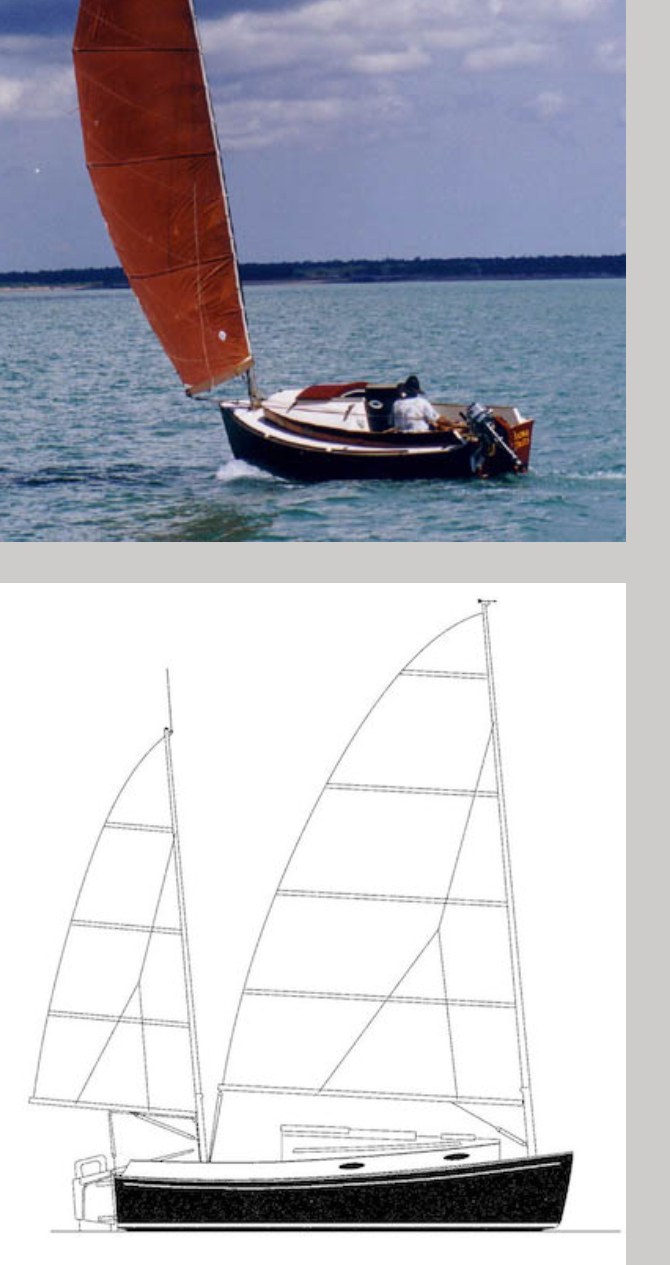
The othe major job of hulls refitting is replacing the hatches. Starby's main hatches were rotten. I will replace the knuckle jointed original with a single hinged hatch as seen on the Wharram's below. I have no construction details other than what I've seen in a video of the Larapinta Voyage; they have a gentle arch & are hinged on the other edge. In this photo, the boat in the background has both hatches opened to just beyond vertical.


.LATER TODAY: well as usual the best made don't often come off. Today saw the stern section rudder lashing holes & a crack there, filled with thick epoxy. Leftover epoxy was screnned on over paimt defects & larger patches. Weather is the first warmish day since autumn. Thinking ahead towards summer.
There are two patches on the hatches that are too far gone. These will need to be replaced. I suspect their condition has to do with a shortcut in construction, epoxy may have been used, but they definitely were not glass sheathed.
The delay in getting on with the deck sanding was due to me not adequately mixing the epoxy resin when patching the delaminated spots.
I have a fullish day today to devote to the job at hand and hope to have everything filled, sanded & sealed, ready for painting. Except of course the hatches.
Just now, getting my gear ready & surveying the hull, I discovered a crack in the glass by the bow eyelet which has caused some delamination. Its small, but its a worry. I'm hoping it will peel away before tearing off from secure glass surrounding it and reveal clean, dry timber underneath. Its a site of high stress due to it being on the bow & a fixing point for the forestay. Essentially a chainplate. So it has to be good & strong.
We'll find out soon enough.
LATER THIS DAY:
well the news is good. I was unable to find any significant delamination. But there is ample evidence of a really ugly repair job on this bow. So I roved the chain plate & sanded the area back to mostly bare fibreglass or wood & laid it over with cloth tape. This will seal & strength the area, afterwards I will screed it over with bog to get an even finish before painting.
Its worth noting how emotional this work is. Beforehand you're uncertain where it will go & if your a little tired the negative mind will tell you the boat is bound for the scrapheap. Then as you attack the lose & flaky bits & them seal & strengthen those areas with epoxy, your heart soars. It becomes once
 step ahead towards a strong & more beautiful sail boat.

The feeling of beong chuffed over my epoxying job has been undermined by my dogs, no less. While giving them each a pat I was surprised to find the fur on their little heads all clumpy with what must be epoxy. Visions of the bow tape dangling off towards the ground is causing me to have mild conniptions.